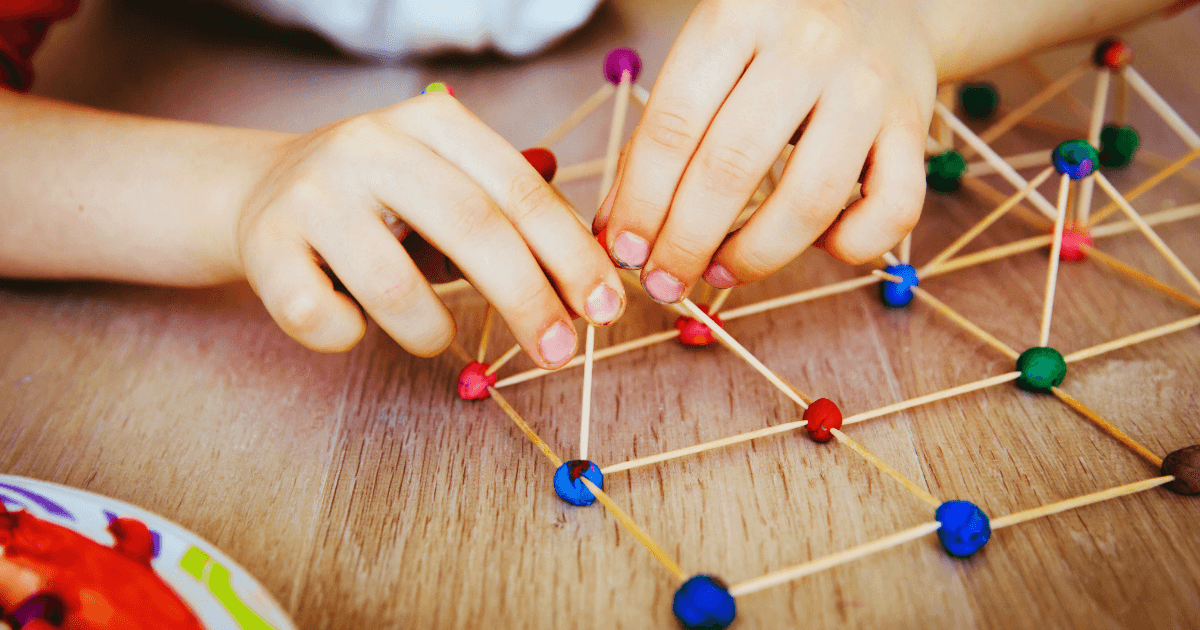
Budget-Friendly Classroom Materials: DIY Solutions That Save Money
If you’re an early childhood educator, you’re likely all too familiar with the financial reality of our profession: according to AdoptAClassroom.org’s survey, teachers spend an average of $895 out of their own pockets on classroom supplies each year—a staggering 49% increase since 2015. With inflation driving up costs and school budgets remaining stagnant (the median supply budget provided by schools is just $200), the gap continues to widen.
But here’s the good news: with a bit of creativity, some basic crafting skills, and strategic sourcing, you can create high-quality learning materials that rival commercial products at a fraction of the cost. This comprehensive guide will walk you through practical DIY solutions, organized by learning domain, to help you stretch your budget while creating an engaging, well-equipped classroom.
Why DIY? The Benefits Beyond Saving Money
Before diving into specific projects, let’s consider why creating your own classroom materials offers advantages beyond financial savings:
1. Customization
Commercial products often follow a one-size-fits-all approach. DIY materials can be tailored to your specific curriculum, children’s interests, and developmental needs.
2. Sustainability
Creating materials from repurposed items teaches children about environmental responsibility while reducing waste.
3. Authenticity
Handmade materials add warmth and personality to your classroom that mass-produced items can’t match.
4. Modeling Creativity
When children see you transform everyday objects into learning tools, they develop creative thinking and problem-solving skills.
5. Community Building
Sourcing materials from families and local businesses creates meaningful connections and investment in your classroom.
Strategic Sourcing: Where to Find Free and Low-Cost Materials
Before grabbing your credit card, consider these sources for free or inexpensive materials:
Family Contributions
Create a “Materials Wish List” for families with specific items they might have at home:
Cardboard tubes and boxes
Clean plastic containers
Bottle caps and lids
Old magazines and catalogs
Fabric scraps and ribbons
Pro Tip: Send home a simple letter explaining how these “treasures” will be transformed into learning materials. Include photos of finished projects to inspire participation.
Business Partnerships
Local businesses often have materials they’re happy to donate:
Don’t overlook the abundance of free materials available outdoors:
Pinecones, acorns, and seeds
Smooth stones and pebbles
Fallen branches and sticks
Leaves, flowers, and grasses
Sand and soil
DIY Classroom Materials by Learning Domain
Now let’s explore specific DIY projects organized by learning domain. Each project includes the necessary materials, simple instructions, and the learning concepts it supports.
Literacy and Language Development
1. Sensory Letter Tracing Cards
Materials:
Cardstock
Hot glue gun
Yarn, pipe cleaners, or sand
Instructions:
Print or draw uppercase and lowercase letters on cardstock
Trace letters with hot glue
Let dry completely
Optional: Add directional arrows to guide proper letter formation
Learning Concepts: Letter recognition, pre-writing skills, tactile learning
2. Recycled Book Bins
Materials:
Empty cereal boxes
Contact paper or fabric
Scissors and glue
Instructions:
Cut cereal boxes at an angle (like magazine holders)
Cover with contact paper or fabric
Label with pictures and words for different book categories
Learning Concepts: Book care, classification, and independent reading habits
3. DIY Flannel Board Stories
Materials:
Foam board or cardboard
Flannel or felt
Glue
Felt pieces for characters
Instructions:
Cover the board with flannel/felt
Create story characters by cutting shapes from felt
Store in labeled Ziploc bags by story
Learning Concepts: Sequencing, storytelling, vocabulary development
Math and Numeracy
1. Bottle Cap Counting Frames
Materials:
Cardboard
Bottle caps in different colors
Hot glue
Marker
Instructions:
Draw 10 circles in two rows of 5 on cardboard
Glue bottle caps onto circles
Number the caps 1-10
Learning Concepts: One-to-one correspondence, addition/subtraction, number recognition
Preschoolers: Cutting with scissors, basic assembly, decorating
Pre-K/Kindergarten: Following multi-step directions, more complex construction
Real Teacher Success Stories
Sarah, a pre-K teacher in Michigan, saved over $600 last year by creating her own sensory materials: “I replaced our commercial sensory table fillers with collections of natural materials like pinecones, acorns, and smooth stones. The children are more engaged with these authentic materials than they ever were with the store-bought options.”
Carlos, a kindergarten teacher in Arizona, involves families in his DIY approach: “I send home a ‘Materials Wish List’ each month with specific items we need. Families love seeing how their ‘trash’ becomes our classroom ‘treasure.’ Last year, we created an entire dramatic play grocery store using empty food containers that families contributed.”
Getting Started: Your DIY Action Plan
Ready to embrace the DIY approach? Here’s a simple action plan to get started:
1. Assess Your Needs
Identify your most-used (and most expensive) classroom materials
Determine which commercial items could be replaced with DIY alternatives
Prioritize projects based on curriculum needs and potential savings
2. Start Small
Begin with 1-2 simple projects to build confidence
Focus on materials that offer the biggest return on your time investment
Document your process and savings to stay motivated
3. Create a Collection System
Set up labeled bins for collecting specific materials
Communicate your needs to families and colleagues
Establish a designated space for storing collected materials
4. Schedule Creation Time
Set aside specific times for material creation
Consider hosting a “DIY Materials Workshop” with colleagues
Involve children in age-appropriate aspects of the creation process
Conclusion: Beyond the Budget
While saving money is certainly a compelling reason to create DIY classroom materials, the benefits extend far beyond financial considerations. By embracing a DIY approach, you’re modeling creativity, resourcefulness, and sustainability for your students while creating a unique learning environment that reflects your teaching philosophy.
As one veteran teacher shared, “After twenty years in the classroom, I’ve learned that the materials children connect with most deeply aren’t the shiny, expensive ones from catalogs—they’re the ones created with intention, creativity, and love.”
What DIY classroom materials have you created? Share your ideas and photos in the comments below!